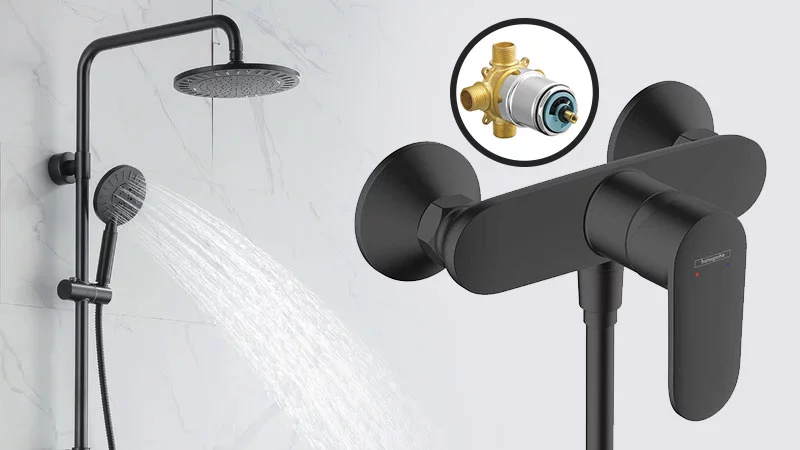
The Shower Faucet includes a visible center plate, spout, and control knobs or handles. There is a wall inside which the value is located. It cannot be seen without removing the shower trim.
The shower faucet without replacing the valve might be easy. But the required tools for the process should be available to you.
Doing this could be easy if you follow the instruction and guidelines discussed below. Overall, we could say, this will be done by you.
Replacing the Showerhead without replacing the value is possible. Don’t let anyone confuse you with faucet and shower trim. The shower trim and shower faucet are the same things.

Here’s How to Replace a Shower Faucet Without Replacing the Value (Step by step)
If you are worried about how to replace a Shower spout let me tell you, we are going to explain it step by step. Like other DIY projects, we will assist you to do it yourself. The most important thing here is to know which model and type of shower you have.
Preparation and Removal:
- Locate and turn off the water supply at the water meter.
- Remove the cap from the faucet handle using a flat-head screwdriver.
- Loosen and remove the shower handle with a Philips screwdriver.
- Pry off the escutcheon from the wall using a flathead screwdriver.
- Use an adjustable wrench to loosen and remove the retaining nut.
Pull out the entire faucet post from the wall using slip-jaw pliers.
Installation and Testing:
- Install the new shower trim in the same wall section.
- Mount the newly bought escutcheon over the faucet post.
- Test the functionality and operations of the newly installed setup.
- Turn on the water supply if everything works properly.
- Congratulations! The entire process has been successfully completed.
To watch this complete process, check out this great video from Top Homeowner!
What Tools Are Required for Changing the Shower Faucet?
You don’t need many tools to successfully complete the process. Just make sure to follow the guidelines in this article. Here are the necessary tools:
- Shower spout (new assembly)
- Slip-Jaw pliers
- Adjustable wrench
- Flat-headed screwdriver
- Philips screwdriver
How to Replace the Push-Pull Shower Faucet with Lever
Replacing the Push-Pull Shower mixer with Lever is not that much difficult. Some of the tools mentioned for the above process could also help in this process.
One should turn off the water first. You must turn the left-most knob counterclockwise until you achieve a moderately strong water flow. Turning it will initiate the flow of hot water. Use the right-most knob to engage the cold water.
Now is the time for grasping the middle of three knobs like the left-most knob turn it counterclockwise. This process is a modest way to replace the Push-Full Showerhead with Lever.
Is It Necessary to Remove the Tile While Replacing the Shower Valve?
Replacing the shower valve typically doesn’t involve extensive cutting or tile removal. To access the leak, you need to cut the tile only around the shower valve. Your plumber has to be very careful doing this. If you are going to do it yourself, remove only the tile that is necessary.
After replacing the shower valve, you will need to repair the tile. To access the leak, it is advisable to cut or remove only a small portion of the tile.
Can We Replace the Shower Faucet Without Accessing the Panel?
Replacing the Shower spout without accessing the panel might be possible. In some homes, there is a removable panel next to the room behind the faucet. In this process, you will have to work inside the wall. The best solution for this is to install a paintable plastic panel behind the faucet.
Otherwise, you will have to cut all surroundings and make a hole for replacing the Shower diverter.
Final Thoughts!
Replacing a shower faucet doesn’t require extensive experience. However, if you encounter difficulties or make mistakes, it’s advisable to seek assistance from a professional plumber.